What your new sales rep needs to know before their first call
Sharlotte Briscoe • August 3, 2023
You’ve onboarded a new sales rep and done their training in the platform. They’re about to make their first call… but what are the 4 key points of info you can give them to ensure their first call is a success?
Points of discussion
Before they get the prospect on the phone, it’s a good idea to whittle down a few talking points to focus on and have them ready to expand on. Looking through the report and identifying areas of improvement before a call will help new sales reps who aren’t seasoned in presenting reports off the cuff.
These points of course will need to be in relation to the services you’re offering, but having a few talking points ready will help the new sales rep’s confidence and ensure the call runs smoothly, leading the way for the sales rep to become more of a trusted advisor, rather than someone who is just trying to flog a quick sale.
Accurate business details
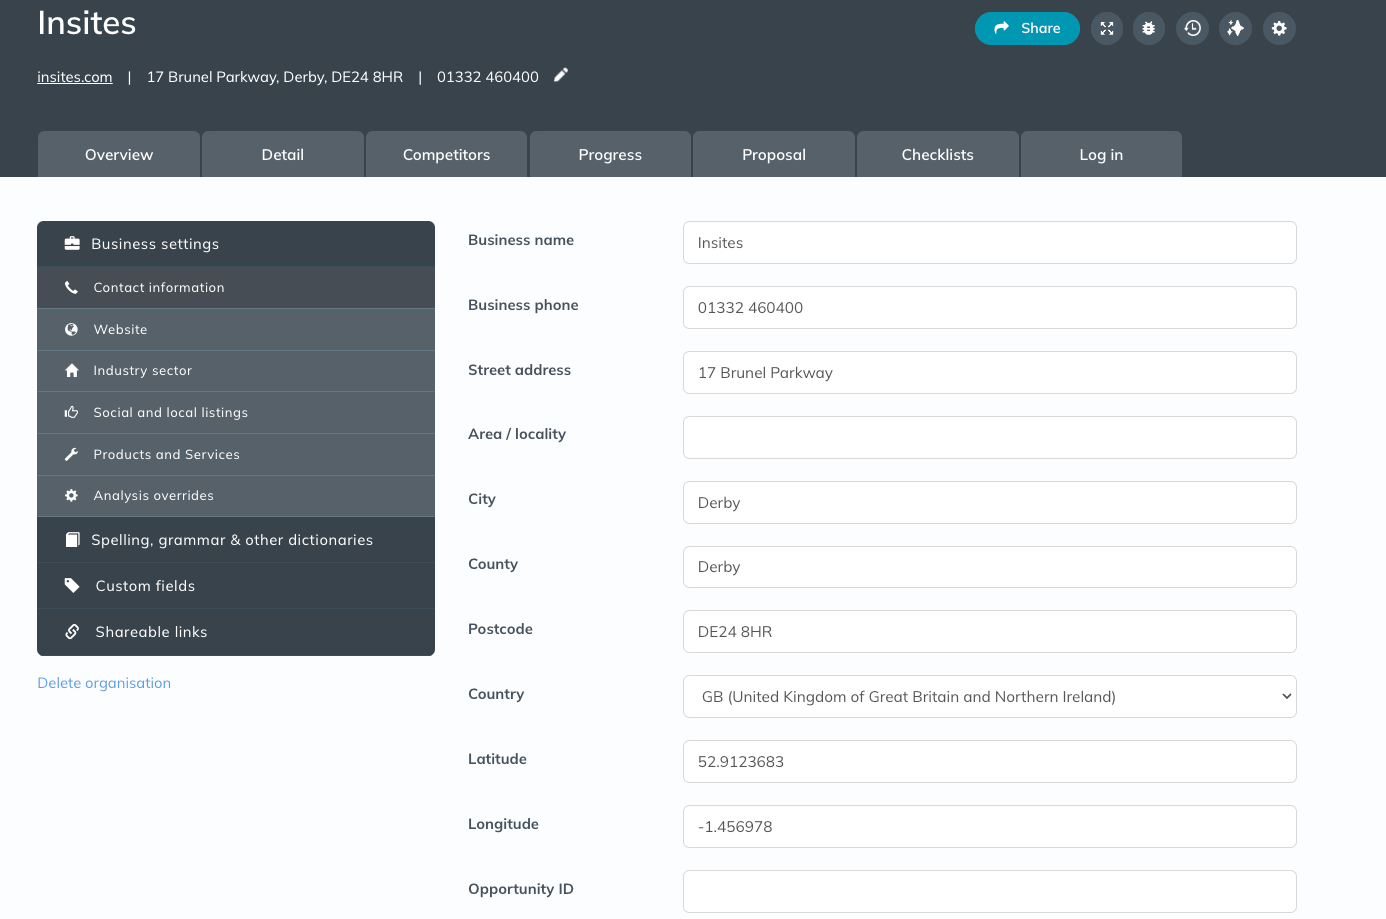
It’s essential to check and make sure that the business details are accurate before you start your first call. These are the business name, URL, address and phone number. These are the details that the local listings and Google Business profile checks use for comparison, so if these details are even a little off then this will skew the score results on the report.
How to interpret the report
As well as being able to identify areas of improvement on the website they’ve just audited, your sales reps must know to interpret and communicate the results within the report!
Overview
The overview is the first page you’ll see once you’ve run the audit and opened the report. Here you’ll find the overall score, which is a weighted average of all of the tests enabled in the account and you’ll also see a score for each section.
Click any of the scores and a table will appear, detailing the scores that are attainable vs the scores that have been achieved. A great talking point when you’re showing a customer their website’s audit. Each section lists all enabled tests and will be marked with a green tick, a red cross, or an amber exclamation indicating what was or wasn’t detected within the audit.
Detail
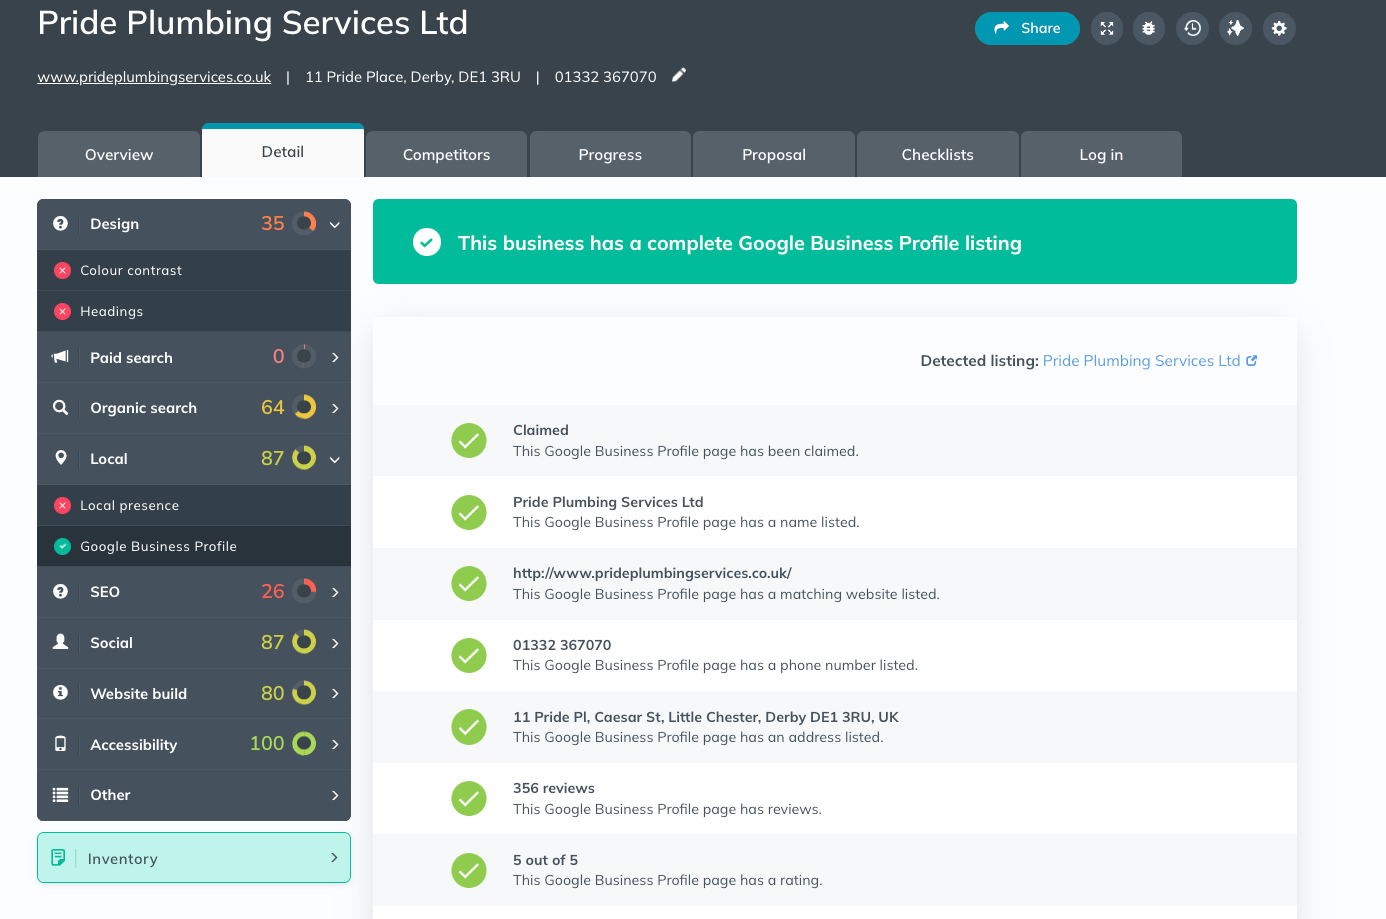
Although we do recommend that you hide the detail tab when you first share the report to hook the prospect in and give them a reason to reach out to you. This is because the detail tab is where you can expand all of the individual tests to find out more about that test and why it scored that way.
It tells you what was or wasn’t detected, why it impacts the score the way it does and what can be done to improve it if need be. You can also scroll down to the bottom of the page and click the ‘Find out more about this check’ link to see more detail on where we source this information if it’s provided by a 3rd party and other in-depth information about that test.
Competitors
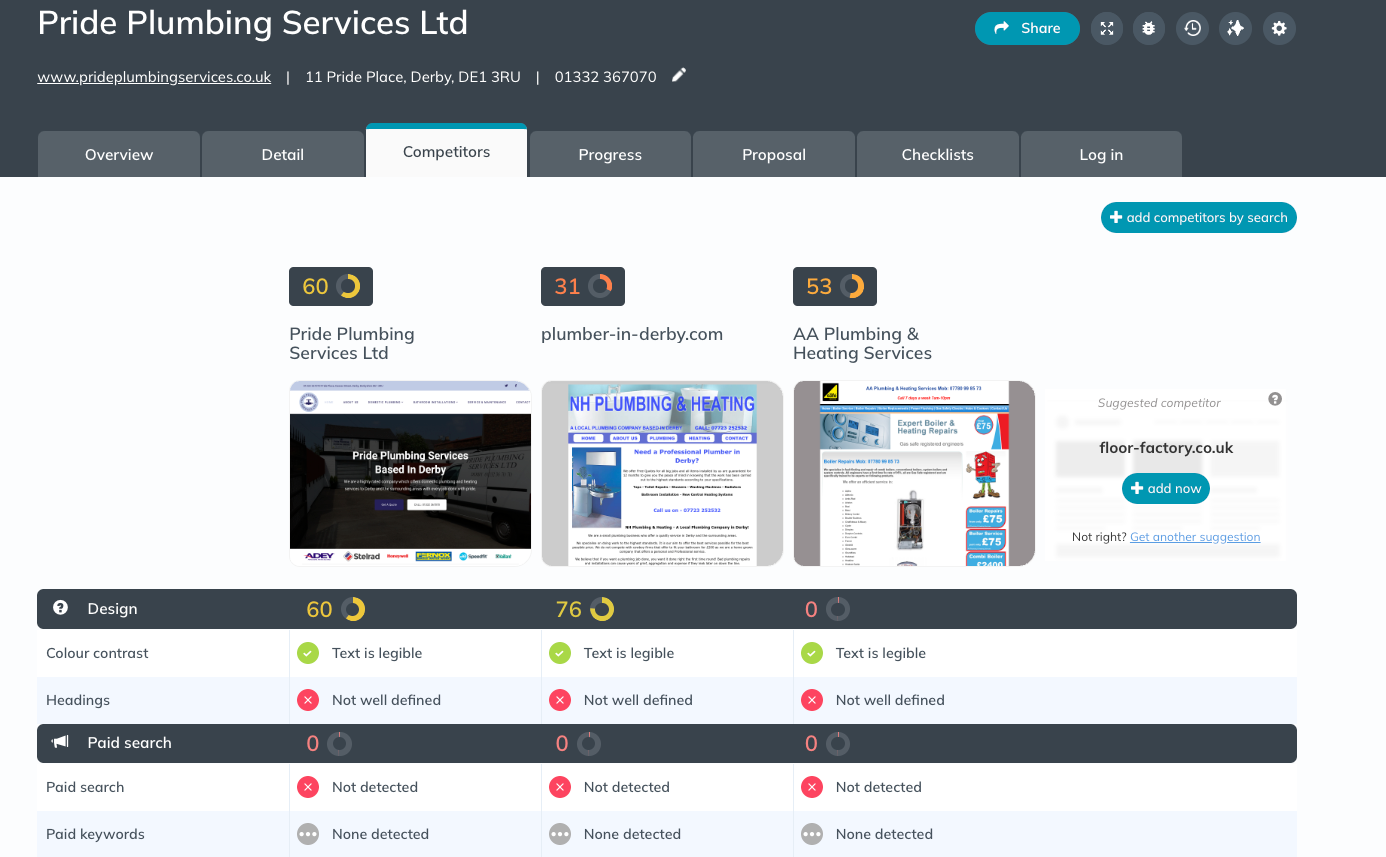
With the competitor feature, you can easily compare a business with its three top-performing rivals locally allowing the business owner to see the areas they come out on top and the areas in which they could make some improvements.
Progress
This section allows you to compare historic reports to see the progress in the overall score. It presents a side-by-side comparison of all of the tests and how they scored in each report; you can even select to view the changes only.
Proposal
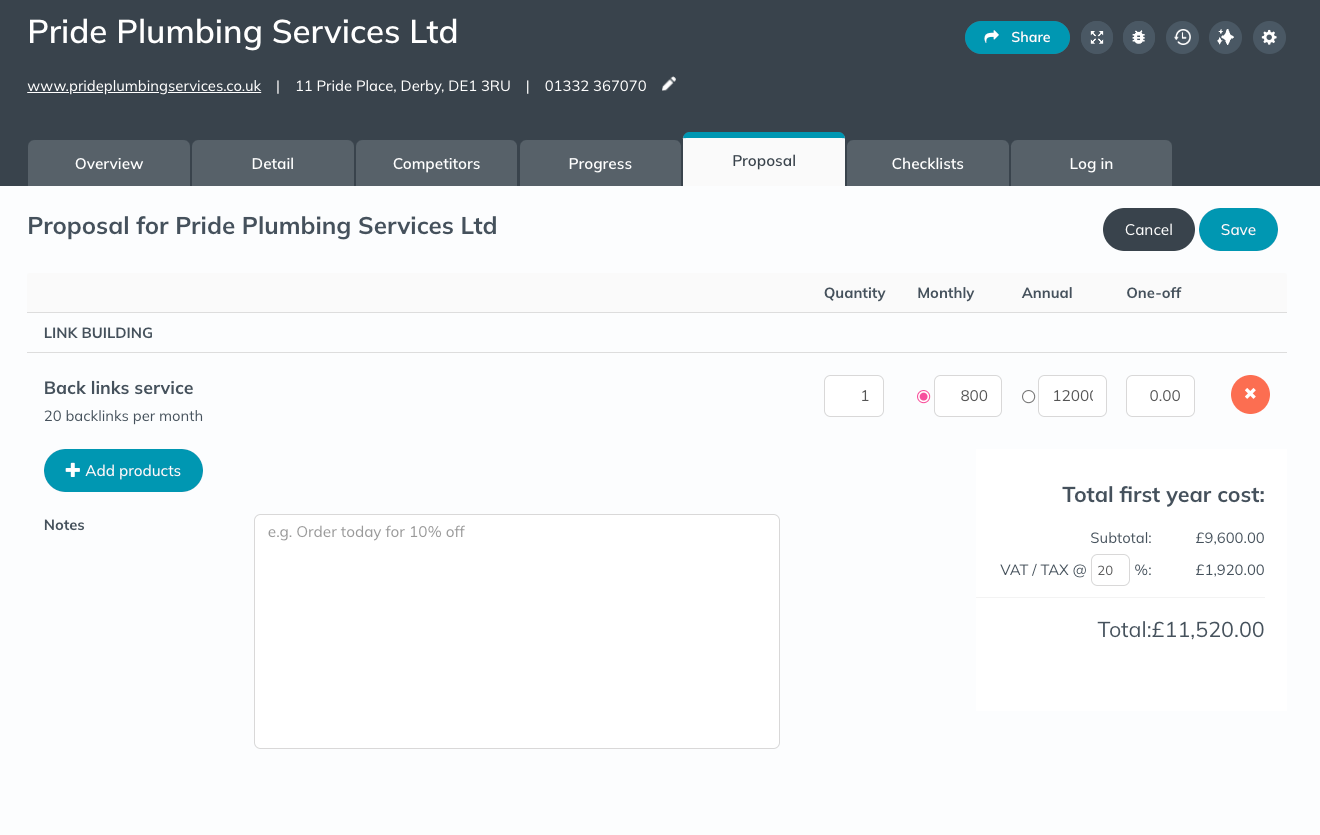
You can add in pre-loaded products based around the prospects’ needs and create a proposal tailored to them before you present or send the report.
Showcase
Within this section, you can showcase your best work to include in the report to be shared. Add in a selection of pre-determined sites to share with the prospect, so they can see the work you’re able to produce for them.
There’s much more to the reports and settings your sales rep will need to know but the above is easy to digest and not too daunting for a first call! We also have so many ‘How to’ articles on our support site to help your reps get up and running which you can view here.
Happy auditing!
The Insites Team


